..................................
Return
to Sumner's Home Page....
Return
to N Scale RR Main Menu........ Return
to Servo Control Menu
=========================================
..............Previous
Page..............................Mounting
the Servo
=========================================
…....---
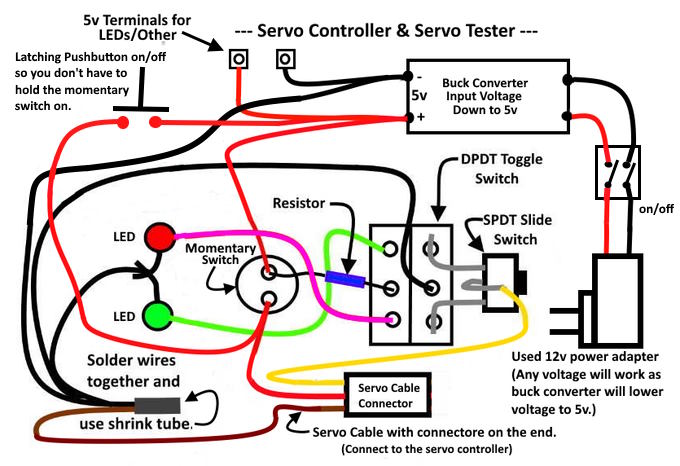
Servo Controller & Servo Tester/Installer ---
Building
one of these is inexpensive, just a couple dollars more than building
a switch box for the servo on the layout. It will simplify adjusting
the servo throw with the two pots on the servo controller and I like
to test the servo controller and servo before installing on the
layout as these aren't always parts made with a lot of quality
control.
I
also use it once the servo and controller are in place on the layout.
You can adjust the throw of the servo to make sure you aren't
overpowering the points using it. You can do all of this with the
switch-box you are installing for the servo but this has one feature,
a locking pushbutton (could use a toggle) switch which frees up a
hand while adjusting the pots on the servo controller.
.

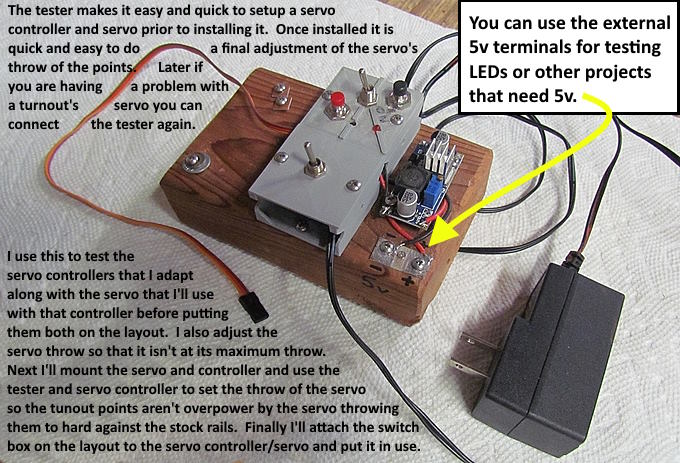
You
can make an enclosure from about anything if you don't have a
printer. The power adapter/wall wart is also not critical. You
probably have one off of something that doesn't work anymore. If you
have to buy one they are cheap. The buck converter is also on a
couple dollars.
.

.
.
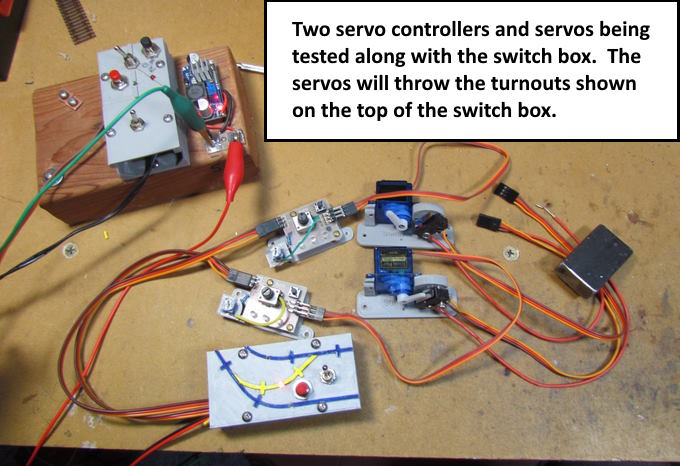
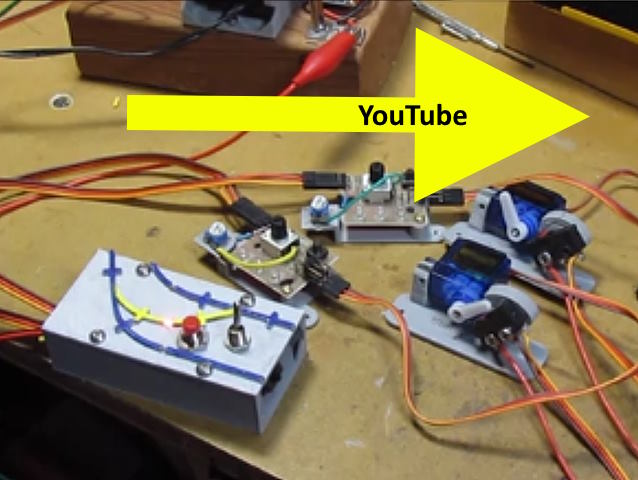
Above
the tester is being used as the servo switch-box testing newly
installed turnouts before the permanent switch-boxes are put into
place. It is also being used along with the servo controller to set
the travel of the servo so that the switch points contact the stock
rails but are not forced into them to hard. This is important as you
don't want to overpower the points. It only takes a couple minutes
per turnout to do this. For some commercial servo controllers this is
a complicated procedure.
With
the servo tester you can push the black button above so that it is
latched on. Doing that means you don't have to push the red button to
activate the servo controller. Now you have both hands free to work
the two pots on the servo controller. Rotate one pot and move the
points to one side until they just touch the stock rail. Throw the
toggle on the tester and the servo moves the points to the other
side. Rotate the other pot to move the points just up to the stock
rails on that side. Easy as that and you are done. Next mount the
permanent switch box and plug the servo cable to the servo controller
and that turnout is ready to use.

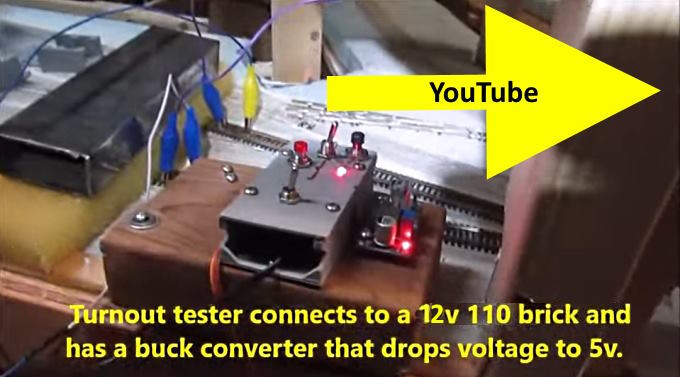
Watch
the YouTube above or ( HERE
)
for more details on how to adjust the servo throw for the points. I
made the better tester shown on this page after the video was shot.
It is easier to use since you can use the black latching button
instead of having to hold the red momentary button down.
Above
or ( HERE
) I'm using the 5v external terminals to to test a switch-box, servo
controllers and servos.
=========================================
...........................On..............e.........Mounting
the Servo